2026-06-12
AI Prompt Trimming Guide: Remove Words That Make Images Look Fake
Learn how to trim AI prompts and negative prompts to reduce dirty textures, fake light, overprocessing, clutter, and plastic-looking image outputs.
Try this workflow in Naviya
Use the guide to shape a still image, then keep it as a first frame or campaign asset.
Open the studio
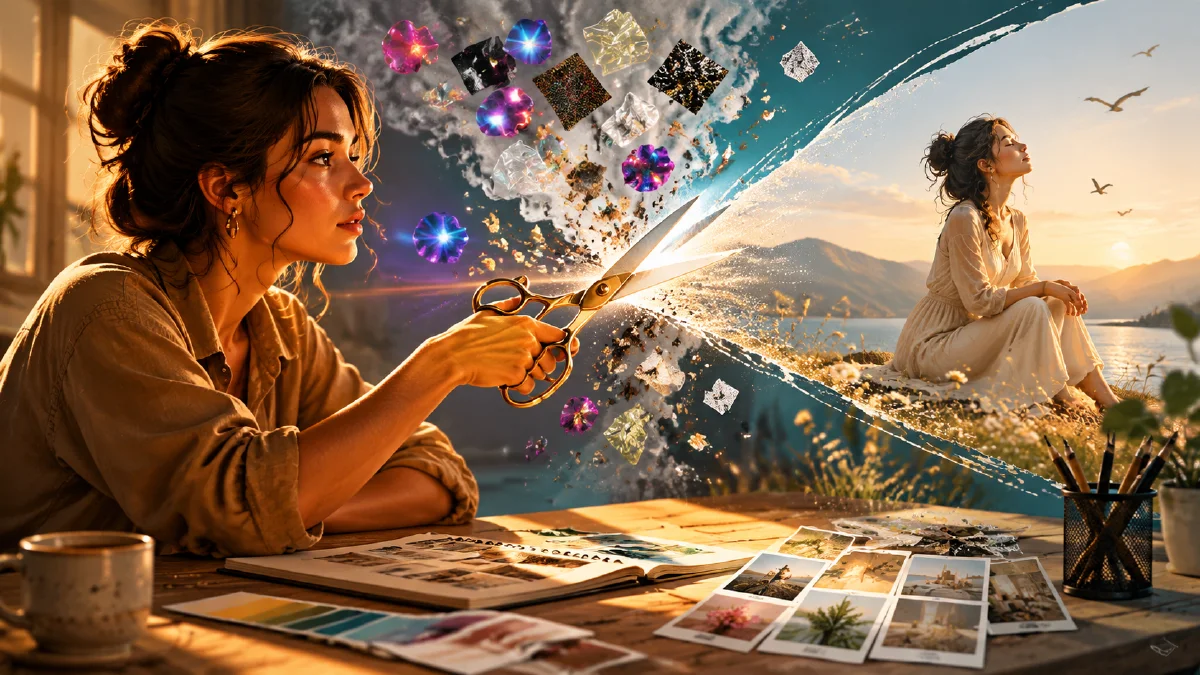
Prompt trimming means removing words that make the model overcompensate. Many AI images look fake not because the prompt is missing something, but because it contains too many signals: too much detail, too much glow, too many style labels, too much quality language.
High-end images are often cleaner, not denser.
Use this guide when images look noisy, plastic, over-sharpened, over-lit, or cluttered.
Why trimming works
Diffusion models turn noise into structure. If the prompt leaves too much uncertainty, the model fills gaps with common visual habits. If the prompt demands too many effects, the model tries to satisfy all of them at once.
Trimming reduces bad compensation:
- less random texture
- less fake glow
- less plastic skin
- clearer hierarchy
- more believable material
- stronger subject focus
This is different from making the prompt vague. A trimmed prompt can still be precise.
Start with a plain positive prompt
Write only:
Subject + scene + light direction + camera + composition + style purpose.
Example:
Close portrait of a creator near a window, soft daylight from camera left, natural skin texture, 50mm lens, relaxed expression, clean background.
Avoid starting with:
8k, masterpiece, ultra realistic, extremely detailed, cinematic, beautiful, perfect, sharp, high quality.
These words can trigger overprocessing. In many cases, the model already knows how to make a good image. Your job is to control the image, not flatter it.
Trim dirty texture
Dirty texture appears as random noise, stains, grunge, or busy background detail.
Remove:
- excessive texture words
- grunge
- chaotic details
- ultra detailed background
- random particles
- heavy grain unless film grain is intended
Use instead:
clean background, clear subject silhouette, controlled material texture, low visual noise.
Trim plastic material
Plastic look happens when the model treats skin, fabric, glass, and metal as the same glossy surface.
Remove:
- perfect skin
- glossy finish on faces
- unreal render style for natural portraits
- over-smoothed face
- hyper-sharp skin
Use instead:
natural skin texture, subtle pores, uneven organic detail, soft side light.
For products:
matte plastic with soft edge highlights, realistic material response, controlled reflections.
Trim fake light
Fake light appears as glow without a source.
Remove:
- glowing everywhere
- excessive bloom
- magical light unless truly needed
- cinematic lighting without source
- bright atmosphere
Use instead:
single visible light source, light falls off toward the background, shadows follow the object shape.
If you want atmosphere, place it:
faint haze only near the window light, subject remains clear.
Group negative prompts
Do not write one giant negative list. Group by problem and test one group at a time.
| Problem | Negative direction |
|---|---|
| Dirty texture | no random stains, no chaotic texture, no noisy background |
| Plastic look | no waxy skin, no over-smoothing, no fake glossy highlights |
| Fake light | no random glow, no excessive bloom, no unmotivated haze |
| Clutter | no extra props, no messy cables, no busy background |
When a group helps, keep it. When it does nothing, remove it.
Trim by output type
Different assets need different cuts. A portrait, a product shot, and an anime first frame do not fail in the same way.
| Output | Words to question | Better replacement |
|---|---|---|
| Portrait | perfect skin, glossy, hyperreal, sharp face | natural skin texture, soft side light, relaxed expression |
| Product image | dramatic transformation, full rotation, glowing label | stable silhouette, controlled reflection, readable label area |
| Anime image | photorealistic, cinematic render, heavy detail | preserve line quality, clean palette, subtle background depth |
| Social first frame | detailed background, text overlay, wide scene | centered subject, negative space, caption-safe framing |
| Product ad | luxury, magical, particles everywhere | one hook, one light source, product remains clear |
Trimming is not anti-style. It protects the job of the image. A beauty portrait can still be elegant. A product hero can still feel premium. The difference is that the prompt uses physical cues instead of generic intensity.
What to keep
Do not trim the structural parts that make the image useful:
- Subject identity.
- Product shape.
- Camera distance.
- Light source.
- Composition.
- Format.
- Protected detail.
For example, if you remove the subject line to make a prompt shorter, the model loses the asset. If you remove the light direction, the model may return to flat default lighting. Trim effects, praise, and conflicting style labels first.
Before and after prompt
Overloaded:
Beautiful cinematic ultra detailed portrait, perfect face, dreamy glow, 8k masterpiece, sharp skin, magical atmosphere, soft light everywhere, high-end style.
Trimmed:
Close portrait of a creator sitting near a window. Soft daylight enters from camera left and lights one side of the face. The background falls into gentle shadow. Natural skin texture, relaxed expression, 50mm lens, clean composition. Avoid plastic skin, heavy retouching, random glow, and busy background.
The trimmed version gives the model a physical scene rather than a pile of quality labels.
Prompt trimming checklist
Ask:
- Which words describe the image itself?
- Which words are just praise?
- Which effects compete with the subject?
- Which negative prompt group matches the real failure?
- Can the same result be described with a physical light, camera, or material phrase?
Prompt trimming is a practical habit. It turns AI image generation from a lottery into a repeatable visual system.
Trimming workflow for campaign prompts
For campaign work, trim in passes instead of rewriting everything at once. Start with the positive prompt and remove decorative praise. Then review the image for one real failure: skin, product shape, lighting, clutter, or background noise. Add only the negative group that addresses that failure.
Use this pass order:
- Keep the subject, scene, camera, light, and format.
- Remove generic quality words.
- Remove effects that do not support the placement.
- Add one concrete negative group.
- Generate again with the same seed or same first-frame plan when possible.
- Compare the output against the previous version before making another change.
If the issue is composition, use the AI composition prompts guide before adding more negative language. If the issue is unwanted polish, pair this article with negative prompts for AI image quality. If the issue is unrealistic light, rewrite the positive prompt with physical light direction from the AI lighting prompts guide.
For video, do the trimming while the asset is still a still image. A clean first frame in Naviya AI Image Generator gives Image to Video fewer problems to invent around. Once the still is stable, the video prompt can stay short: camera movement, subject motion, and one constraint.
The review question is simple: did the trimmed prompt make the image more usable, or only less expressive? Keep the change when usability improves without flattening the idea.
Keep a short change log for repeat work. Write down the removed phrase, the added constraint, and what changed in the output. Over time, you will learn which words consistently create plastic texture, fake light, or clutter for your category. That record is more useful than a universal prompt rule.
Try it in Naviya
Use Naviya AI Image Generator to test a clean prompt and one trimmed variant side by side. If the still is meant to move, keep the trimmed first frame and continue with Image to Video once the subject, light, and composition are stable.