2026-06-12
Ecommerce AI Model Photos: Product Shots Without a Studio
Plan ecommerce AI model photos that show real products on believable people, from reference selection to product replacement and final listing QA.
Try this workflow in Naviya
Use references when identity, product shape, outfit, or style needs to stay consistent.
Try reference to video
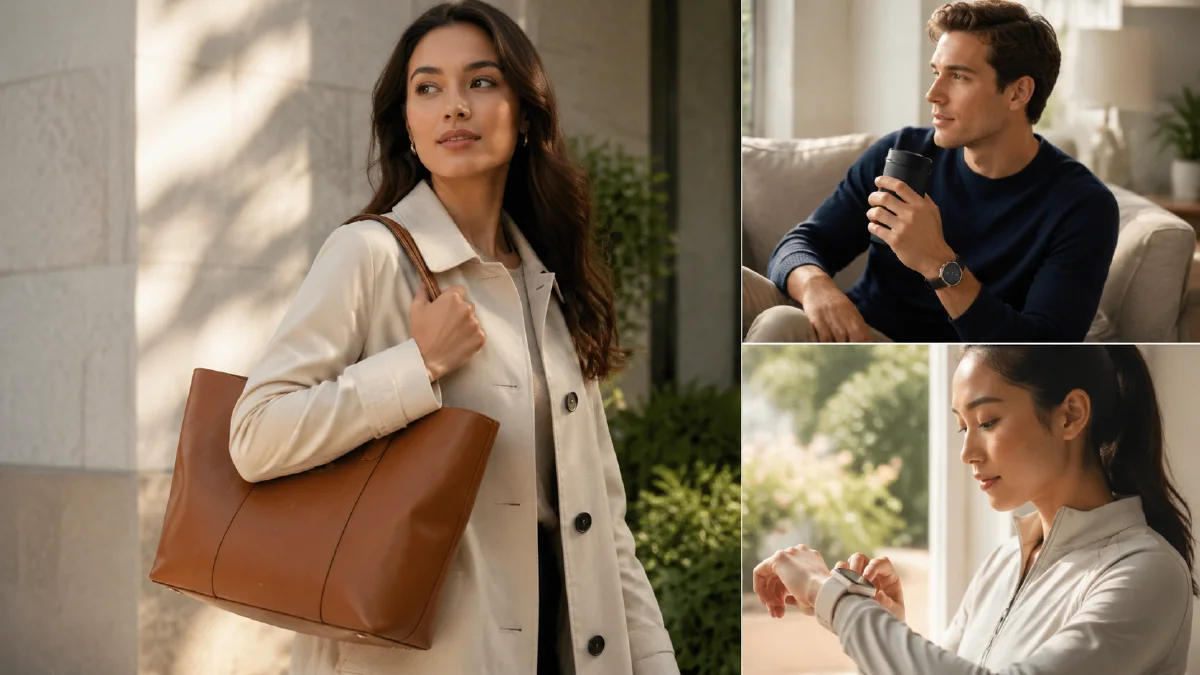
Ecommerce AI model photos are useful when a product needs context but a full shoot is too slow. A pair of earbuds, a small accessory, a bag, or a wearable device can look flat on a white background. Put the same product in a believable model scene and the shopper understands scale, attitude, audience, and use case in one glance.
The hard part is not generating a good-looking person. The hard part is keeping the product honest. A model photo that makes the item look more stylish but changes the shape, color, logo area, material, or relative size is not a selling asset. It is a concept image. For ecommerce, the workflow should separate three jobs: create the model scene, insert the real product, then review the result like a listing manager.
Start in Naviya AI Image Generator when you need a fresh model concept, pose, or setting. If you already have an approved product image, treat it as the anchor, not as decoration.
Start with the shopper use case
Before writing a prompt, decide what the model photo needs to prove. For earbuds, the point may be fit, lifestyle, or fashion positioning. For sunglasses, it may be face shape and lens transparency. For a handbag, it may be size against the body. Each use case changes the pose.
Useful ecommerce model-photo goals include:
| Goal | Better prompt direction |
|---|---|
| Show scale | Hand holding product near face or body |
| Show use | Product being worn or actively handled |
| Show audience | Styling, age range, and scene aligned with target buyer |
| Show brand mood | Lighting, wardrobe, and background matching the campaign |
| Show detail | Close crop on product and nearby body position |
Do not begin with "beautiful model holding product." That gives the model too much freedom and gives the product too little protection. Begin with the commercial question.
Build a model reference board
A strong AI model image usually starts with references. Collect three to five images that show the mood, crop, and pose you want. They do not need to contain your product. One image might show a streetwear pose, another might show soft home lighting, and another might show how a hand naturally holds a small case.
Use references for roles, not for copying. If one image has the right pose and another has the right lighting, say that in the prompt. The reference image prompting guide is useful here because ecommerce work often fails when every reference image is treated as equally important.
A clean planning note might look like this:
Reference role plan:
Reference 1: hand pose and crop.
Reference 2: soft studio lighting.
Reference 3: casual streetwear styling.
Do not copy faces, logos, background signage, or unrelated accessories.
This keeps the generated image from inheriting visual clutter.
Generate the model scene first
For small products, generate the model scene without asking the model to invent the exact item. You want the body language, lighting, and composition to be stable before product replacement. If the prompt asks for a precise product too early, the model may create a similar object that looks convincing but is wrong.
Example model-scene prompt:
Create a realistic ecommerce model photo for a wireless earbud product.
Model: young adult male, clean casual streetwear, black knit sweater.
Pose: standing three-quarter view, one hand holding a small charging case near chest height, other hand relaxed.
Scene: simple studio background with a soft pink-to-neutral gradient, modern consumer electronics campaign mood.
Camera: medium portrait, 70mm lens feel, natural hand anatomy, product area clearly visible.
Lighting: soft key light, subtle rim light, polished but realistic.
Constraints: no readable logos, no extra devices, no distorted hands, leave the product object simple because it will be replaced.
The last line matters. It tells the model not to over-design the placeholder product.
Replace the placeholder with the real product
Once the model photo works, upload the approved product image and use it as the product reference. The product replacement prompt should be more conservative than the model-scene prompt.
Replace the placeholder item in the model's hand with the provided product reference.
Preserve the exact product shape, color, proportions, case angle, earbud form, and material finish.
Match the product to the scene lighting and hand contact naturally.
Do not change the model face, pose, background, wardrobe, or camera crop.
Do not invent logos, text, buttons, seams, or extra product parts.
This is where many ecommerce teams get too ambitious. Do not ask for a new background, new outfit, new expression, and product replacement in one step. Product identity should be the only important change.
Make variants by mood, not by chaos
One product can support several model-photo directions:
- Street casual: jacket, city texture, cooler contrast.
- Minimal premium: plain sweater, studio background, refined hands.
- Home comfort: sofa, warm light, relaxed posture.
- Fitness or commute: motion-ready pose, bag strap, practical styling.
- Giftable lifestyle: clean table, soft packaging cues, warm expression.
Keep each variant simple. For ecommerce, five stable directions are better than twenty noisy experiments. Use the same product reference for every variant and keep a short prompt block for product constraints. Repeating that constraint is not redundant. It protects listing accuracy.
Prepare a motion-ready first frame
Model photos can also become short ad clips. If a still image is likely to move, avoid extreme poses, crossed fingers, cropped hands, or product angles that are hard to track. A clean first frame can become a slow push-in, a small head turn, or a gentle product reveal in Image to Video.
For model product clips, motion should support trust. The model can lift the case slightly, turn toward the light, or bring the product closer to camera. The product should not morph, open by itself, or jump between hand positions unless that is truly the feature being shown.
For paid social, use AI Video Ads after the still is approved. Pair one model image with one claim, one benefit, and one safe movement. The product image to video guide covers the same principle for product-led clips: stabilize the item first, then animate conservatively.
QA before publishing
Review the final image at product-page size and mobile feed size. Check:
| QA item | What to inspect |
|---|---|
| Product identity | Shape, size, color, ports, seams, logo area |
| Hand contact | Fingers wrap naturally and do not merge into the product |
| Scale | Product size matches the real item |
| Background | No fake brand marks, signs, or distracting objects |
| Lighting | Product shadow and highlights match the model scene |
| Listing truth | Image does not imply features the product lacks |
If the product has text or a regulatory label, add that text outside generation or use a separately retouched product layer. AI-generated text is rarely safe for final ecommerce assets.
Try it in Naviya
Use Naviya to run the workflow in layers: generate a model scene, replace the product with a real reference, then turn the strongest still into a short clip only after the image passes product QA. Keep one prompt block for the model mood and one prompt block for product truth.
The best ecommerce AI model photos do not feel like tricks. They feel like efficient product photography: clear pose, believable person, accurate product, and a scene that makes the shopper understand why the item belongs in their life.