2026-06-12
AI Cinema Studio Lens Workflow for Better Video Prompts
Use camera bodies, lens choices, focal length, lighting, and shot scale to guide AI video prompts with cinematic precision.
Try this workflow in Naviya
Use the guide to shape a still image, then keep it as a first frame or campaign asset.
Open the studio
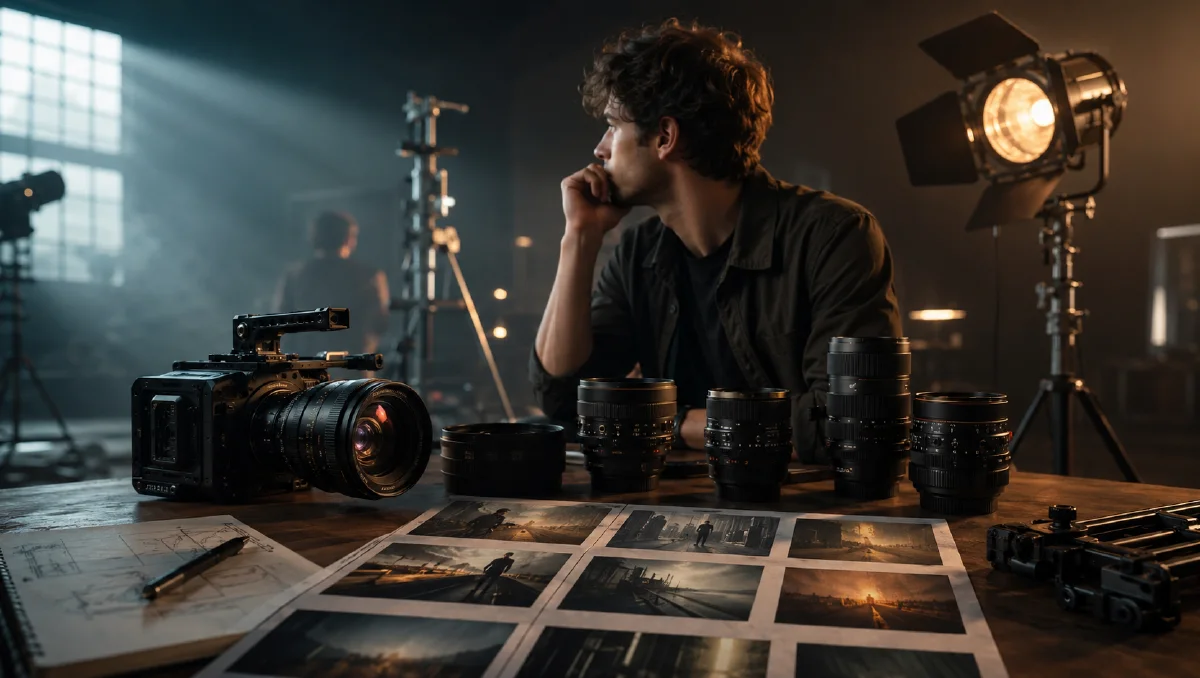
AI video improves when you prompt like a director, not only like a designer. Camera body, lens type, focal length, shot scale, and lighting language all change how a scene feels. A wide lens can make a city feel massive. A soft vintage lens can make a close-up feel intimate. An anamorphic lens can turn a neon street into a science-fiction frame.
The practical lesson is simple: build a camera and lens recipe before generating the video. Use AI Video Generator for new scenes, Image to Video for existing frames, and Reference to Video when you want a specific look to continue across clips.
For more prompting structure, see AI video prompt guide, camera-first AI video prompts, AI video camera movement prompts, and AI lighting prompts guide.
Definition
An AI cinema studio workflow is a way to specify the simulated capture style of a generated scene. Instead of only saying "cinematic," you describe the shot as if you were selecting camera equipment:
- Camera format.
- Lens family.
- Focal length.
- Aperture or depth of field.
- Shot scale.
- Lighting style.
- Camera movement.
This gives the model more concrete visual cues.
Step 1: Pick the shot scale
Shot scale comes before camera gear.
| Shot scale | Use it for | Prompt phrase |
|---|---|---|
| Establishing shot | Location and scale | "wide establishing shot of the city skyline" |
| Medium shot | Character and action | "medium shot of the protagonist on the street" |
| Close-up | Emotion or product detail | "tight close-up with shallow depth of field" |
| Point-of-view | Immersion | "view through a rain-streaked window" |
| Macro | Texture | "macro lens detail of polished metal and glass" |
If the shot scale is unclear, the model may choose an awkward crop.
Step 2: Choose a lens feel
You do not need to be a cinematographer to use lens language. Think in emotional categories:
| Lens feel | Visual result | Good for |
|---|---|---|
| Wide and clean | Large spaces, sharp geometry | epic city, architecture, sci-fi interiors |
| Normal and natural | Human perspective | dialogue, lifestyle, product demos |
| Telephoto | Compression, focus, elegance | fashion, portraits, product hero |
| Vintage soft | Glow, warmth, nostalgia | romance, memory, night streets |
| Anamorphic | wide frame, horizontal flare | sci-fi, cars, music videos |
You can name a lens style without needing exact hardware. The visual language is what matters.
Step 3: Use camera recipes
Here are three practical recipes.
Epic scale
Use for desert worlds, city overviews, architecture, launch films, and science-fiction scenes.
Shot: wide establishing shot.
Camera feel: large-format film camera, crisp detail, high dynamic range.
Lens: wide 24mm prime, clean geometry, deep spatial scale.
Lighting: dramatic natural light, strong atmosphere, long shadows.
Movement: slow forward glide.
Mood: epic, monumental, precise.
Moody retro
Use for rain, neon, romance, memory, nightlife, or intimate portraits.
Shot: medium close-up.
Camera feel: soft digital cinema with film-like color.
Lens: vintage 50mm, gentle halation, creamy background falloff.
Lighting: neon reflections, practical lights, warm highlights, green and red shadows.
Movement: slow handheld drift.
Mood: nostalgic, emotional, intimate.
Sci-fi commercial
Use for tech products, futuristic spaces, vehicles, and glossy campaign films.
Shot: low-angle product hero.
Camera feel: premium digital cinema, sharp glass, controlled contrast.
Lens: anamorphic look, subtle horizontal flare, wide cinematic frame.
Lighting: cool rim light, black environment, reflective surfaces.
Movement: slow orbit around the subject.
Mood: sleek, futuristic, high-end.
Step 4: Combine with subject and action
Camera language should not replace the actual scene. Use this full prompt format:
Subject: [who or what is visible]
Scene: [location, time, environment]
Action: [what happens during the clip]
Shot scale: [wide, medium, close-up, macro]
Camera and lens: [recipe]
Lighting: [specific light setup]
Movement: [one camera move]
Style: [commercial, music video, documentary, fashion, sci-fi]
Constraints: [what must stay stable]
Example:
Subject: a chrome wireless speaker on a black acrylic table.
Scene: dark studio with subtle haze and violet rim light.
Action: reflections move across the speaker grille while it remains still.
Shot scale: low-angle product close-up.
Camera and lens: premium digital cinema, anamorphic look, 50mm, shallow depth of field.
Lighting: narrow rim light, soft top highlight, black background.
Movement: slow orbit, no sudden cuts.
Constraints: preserve product shape and grille pattern, no fake text.
Step 5: Review like a director
After generation, check whether the clip actually follows the recipe:
- Is the shot scale correct?
- Does the lens feel match the mood?
- Is the camera movement simple and readable?
- Does lighting support the subject?
- Are details sharp where they should be sharp?
- Does the style remain consistent across clips?
If the result is wrong, do not just add more adjectives. Identify which layer failed: shot scale, lens, lighting, movement, or subject.
Common mistakes
The most common mistake is stacking incompatible camera ideas. A prompt that asks for a macro close-up, a wide establishing shot, a drone move, and a handheld portrait in one five-second clip will usually fail. Pick the dominant shot first.
Another mistake is using camera names without visible purpose. If the viewer cannot see the effect, the phrase is not helping. A lens recipe should change the image: wider space, softer background, stronger compression, flare, distortion, or cleaner detail.
Finally, do not let the lens prompt hide the product or character. For commercial work, subject clarity wins over pure cinematic mood.
Lens QA table
After generation, review the clip with lens intent in mind. Do not only ask whether it looks cinematic. Ask whether the lens choice is doing the right job for the story, product, or character.
| Review question | What good looks like | Fix if it fails |
|---|---|---|
| Does the shot scale match the subject? | A face, product, or room has enough space to be understood | Rewrite the first line with close-up, medium, wide, or macro |
| Does depth of field support attention? | The important detail is sharp while background depth feels motivated | Remove extra background detail and state the focus plane |
| Does the lens feel stable? | Perspective stays consistent during motion | Shorten the shot or reduce camera movement |
| Does lighting match the lens mood? | Wide scenes have readable atmosphere; close shots have controlled highlights | Pair the lens with one light source and one contrast level |
| Is the product or actor still recognizable? | Style does not overpower identity | Use Reference to Video or an approved first frame |
For campaigns, save lens recipes that pass review. A launch teaser might use a wide 24mm establishing move, a 50mm product handoff, and an 85mm detail close-up. Reusing that lens system across clips makes the edit feel intentional even when the scenes are generated separately.
If two recipes both look good, choose the one that makes the subject easier to understand at phone size.
Try it in Naviya
Open AI Video Generator and generate three clips using the same subject with different lens recipes. Then compare mood and readability. If you have a strong still image already, use Image to Video and add only the camera movement and lens feel you need.
Quick lens prompt checklist
Before you click generate, write:
- Shot scale.
- Focal length feel.
- Depth of field.
- Light direction.
- Camera movement.
- Subject constraint.
"Cinematic" is too broad by itself. A camera recipe gives AI a more specific visual target: what the viewer sees, how the space feels, and why the shot carries emotion.